MiniDisc
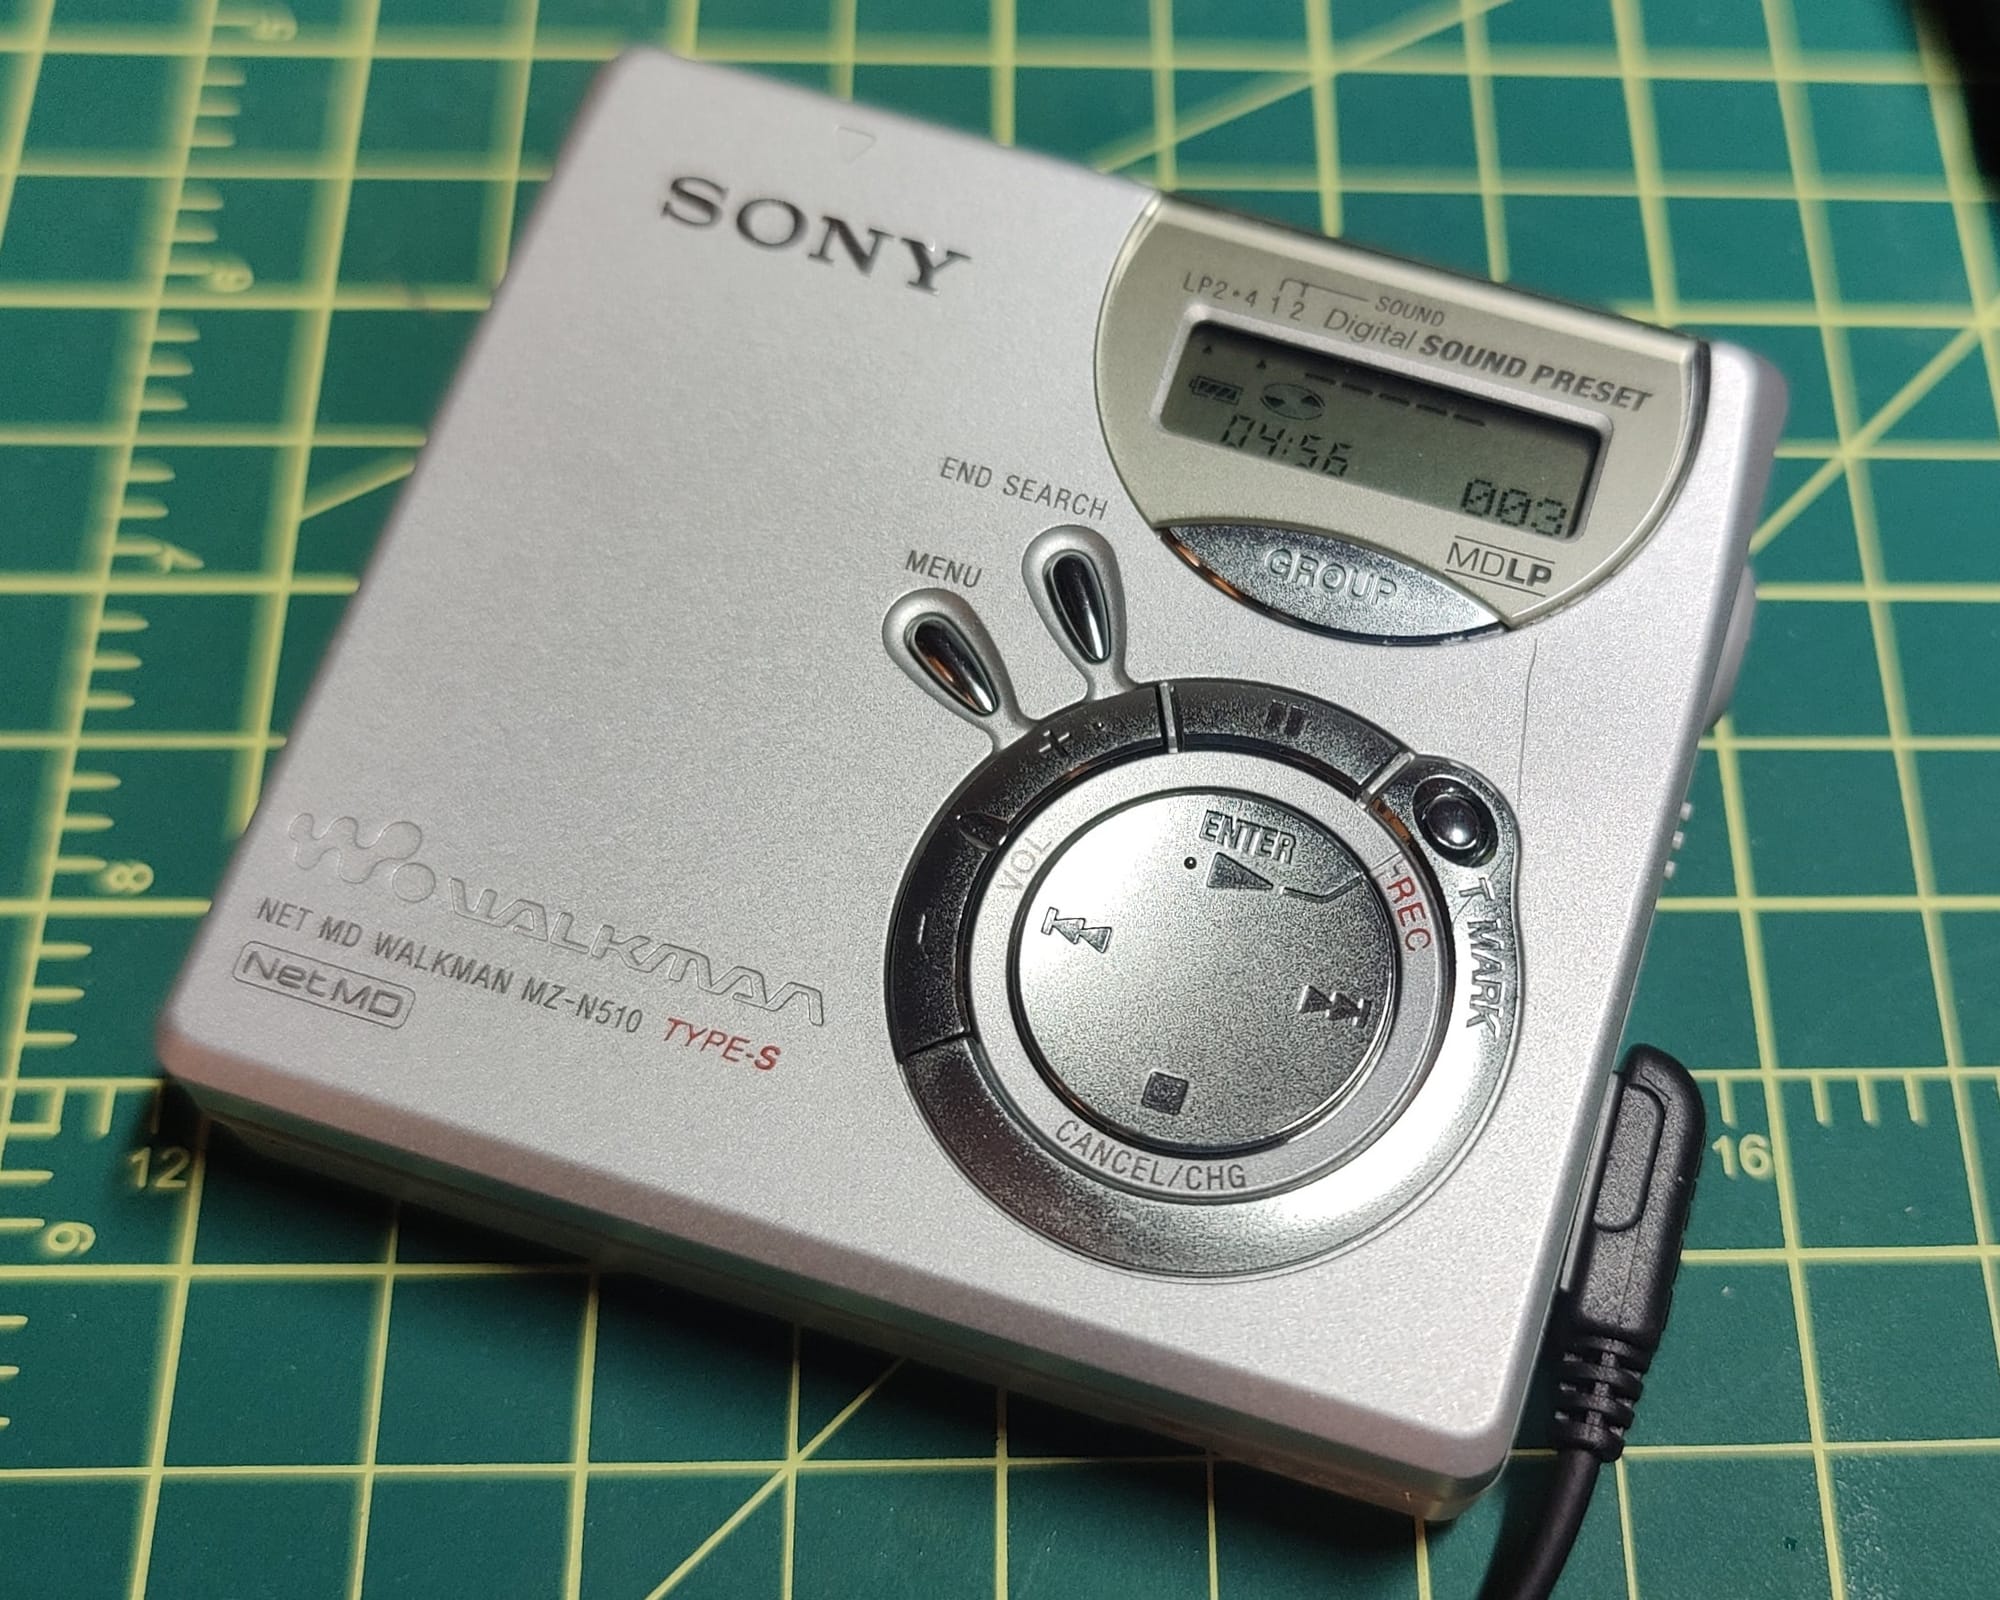
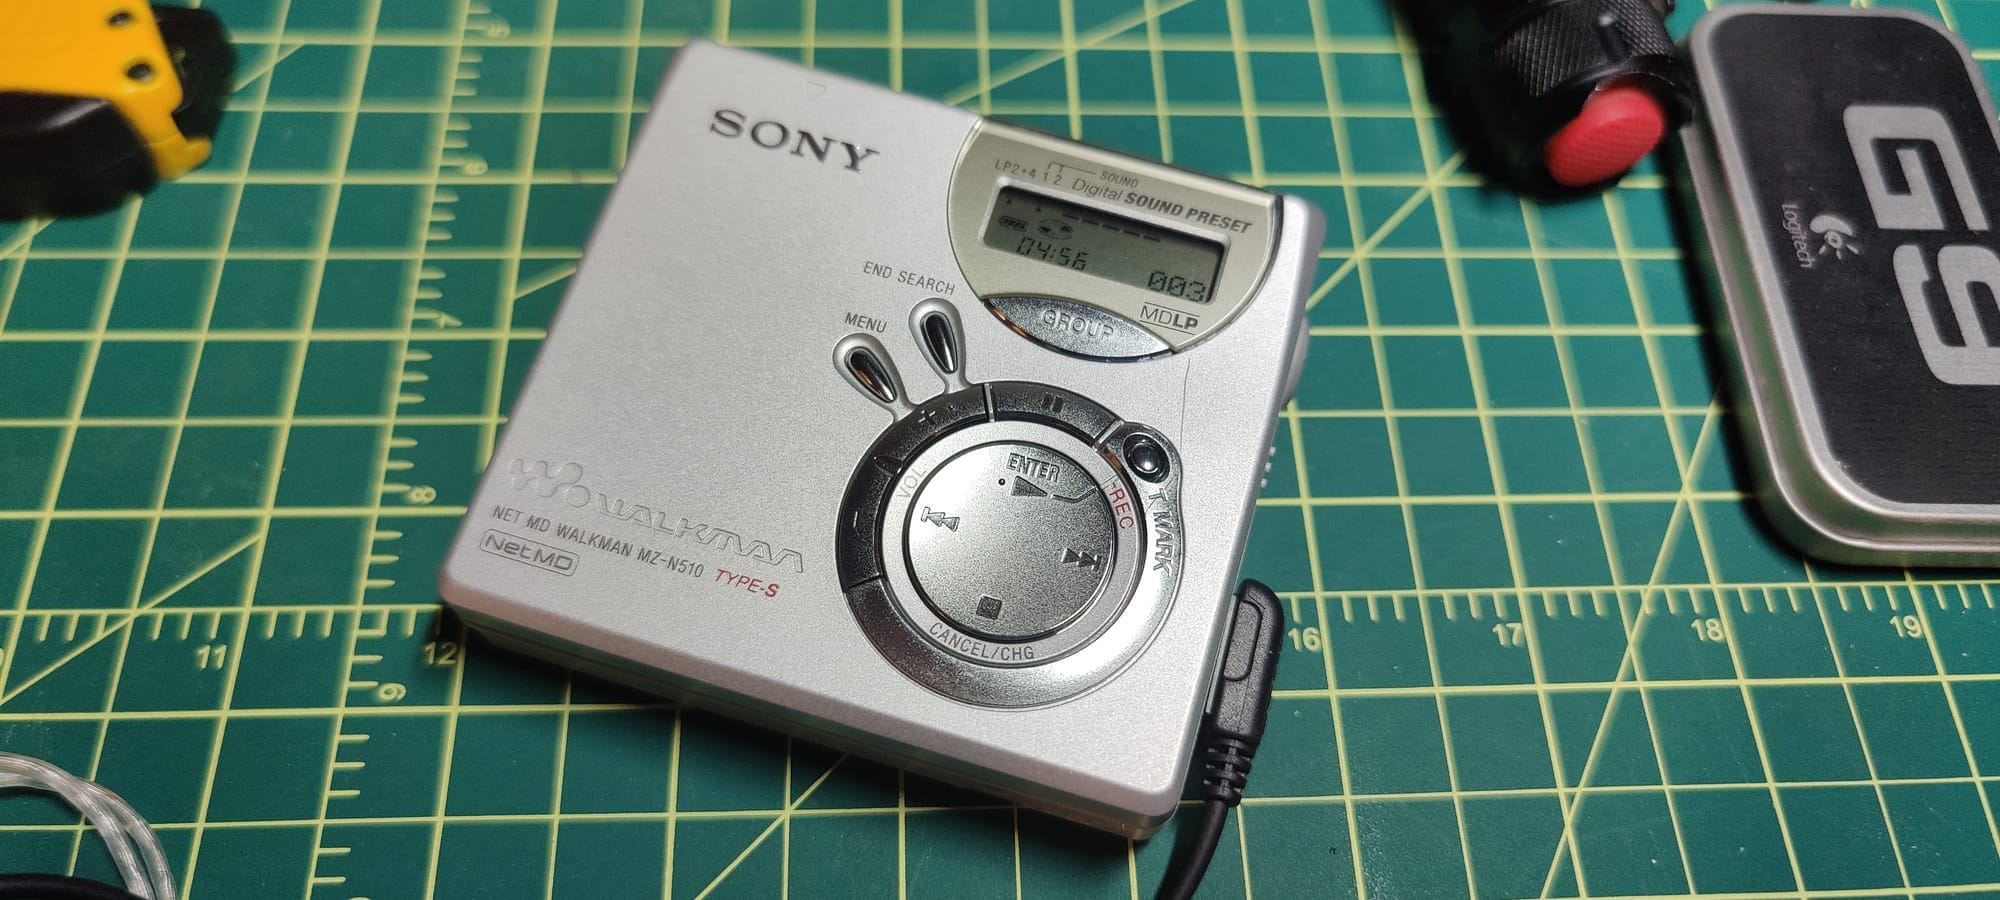
Sony's MiniDisc, launched in 1992, offered unique portability and sound quality. Though never a global hit, it remains beloved by enthusiasts for its blend of digital convenience and analog charm—especially with advanced models like the Sony MZ-N510.

Developed by Sony and launched in 1992, the MiniDisc was a magneto-optical disc-based audio format intended to replace the analog cassette tape. Although it never achieved widespread global success, it gained a devoted following, particularly in Japan and Europe, before being phased out in the 2010s - I unfortunately didn't discover them until 1999. MiniDisc is my favorite audio format thus far, even though I am an avid vinyl collector, MiniDIsc will always have a place in my heart.
My History with MiniDisc
I bought my first MiniDisc player back in 2000, it was the Sony MZ-R90. At the time I believe it was the most compact of players, had an excellent LCD remote and was just a beautiful piece of hardware - many years later I sold it to a friend for $60, a transaction I somewhat regret although I hooked a buddy up.

Skip ahead 20 years and I have never shook the passion I had for the hardware and media - I went on the search to find myself a replacement to scratch my itch.
MiniDisc for the Modern Age
There are a lot of great resources out there for researching MiniDisc equipment, such as the MiniDisc Community Forum and MiniDisc Wiki. The key requirement is that you know what you are looking for, and for me I had four main features: NetMD, MDLP, AA battery support, and ATRACT Type-S.
There are a few devices that fit this bill, but some of them come with a high prize - generally the items I look out for on eBay are: MZ-NE410, MZ-N920, MZ-N10... and more, each with its own benefits and drawbacks. In the end, I landed with the Sony MZ-N510.


Sony MZ-N510 - Key Features
- NetMD Support: Support for digital music transfers from a PC via USB. To achieve this transfer in today's world i.e. not using Sony's SonicStage software, I use a modern solution called Web MiniDisc Pro. However there are other solutions such as ElectronWMD, Platinum-MD and NetMD Wizard.
- ATRAC Type-S Codec: The MZ-N510 has support for ‘Type-S’ encoding/decoding. Concretely, this means that device can encode and decode audio with the highest quality possible for the ATRAC1 (SP), and ATRAC3 (LP2 and LP4) modes that the MiniDisc format support.
- Recording Inputs: The device features a 3.5mm line-in that doubles as an optical digital input. There is no microphone input, so no simple voice recording options - but this isn't an issue for me.
- Battery Life: The N510 operates on a single AA battery and offers a playback time up to 42 hours for SP tracks, 48 hours for LP2, and 56 hours for LP4. When recording, it can last up to 10 hours for SP, 14 hours for LP2, and 18.5 hours for LP4.
Sony MZ-N510 - Notes
Powering
If you are recording a MiniDisc you will need to use an AC adapter, I experience several write failures when using just the batteries. My purchase did not come with an AC adapter, but that wasn't a problem, I purchased Belker 12W Universal AC/DC Adapter Power Supply. This provided the center positive, 3v, 1A power supply I described in the device user manual.

You can use rechargeable batteries in the device, but do note that they are not charged when using the AC adapter. Research suggest the device isn't hooked up this way.
Recording
The device does have a line it which supports traditional analog 3.5mm jack or a digital mini-toslink cable. There is no need to go out and buy an original OEM cable (detailed in the user guide), you can find modern replacements that will do the job. Personally I purchased the FosPower 24K Gold Plated Toslink to Mini Toslink

"Hacking"
Interestingly enough, the MZ-N510 contains similar hardware to more expensive devices, the N510 is merely restricted using EEPROM settings. A nice user has documented how to make these changes in your device... but I am going to copy them here for posterity.
Possible Hacks
- PGM in the P-MODE menu: Program Play Mode.
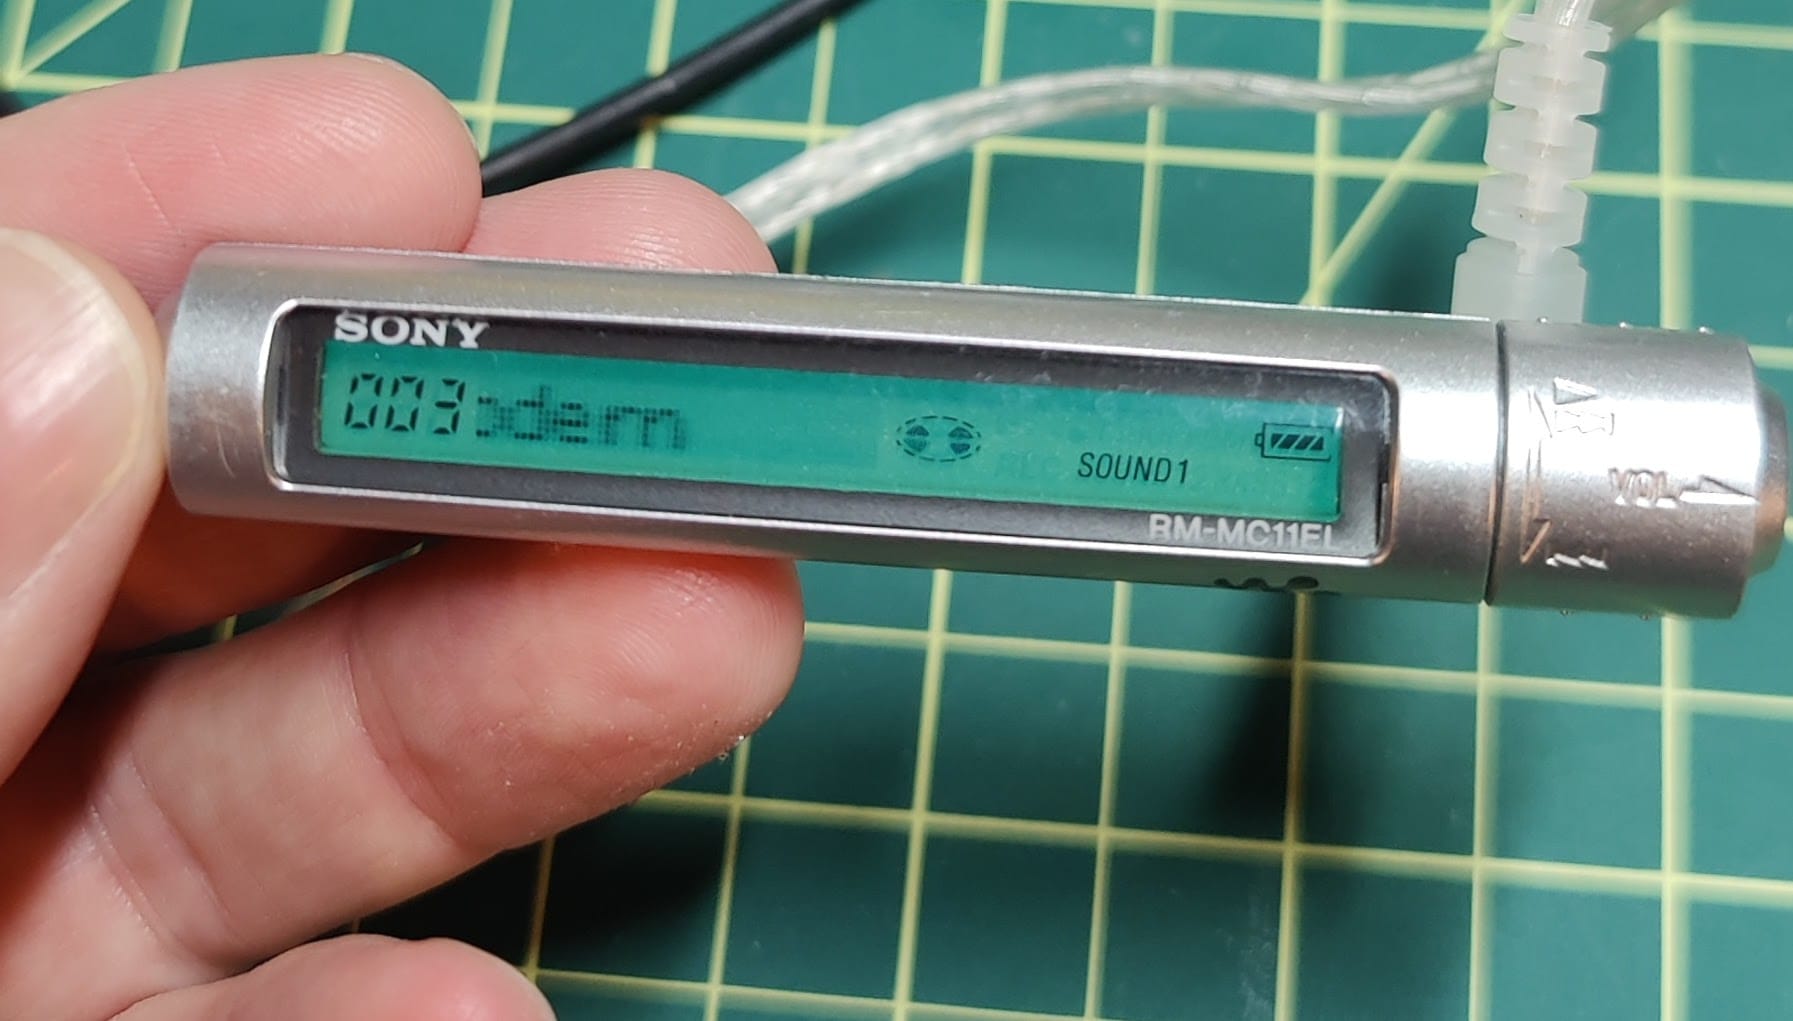
- TITLE added to the DISPLAY menu: Scrolls the Disc Title and then the Song Title on an LCD remote.
- SOUND added to the DISPLAY menu: displays the current sound preset.
- A USEFUL menu added, which contains:
- DPC: (Digital Pitch Control) Adjustable playback speed from -50% to +100% (factor of 0.5x to 2.0x) in 13 steps without change of pitch.
- P.D.M.: Personal Disc Memory, first seen on the R900. Remembers sound settings, play mode, etc, for discs.
- Mtimer: Melody Timer. Set the time and it counts down and plays a little tune.
- AU OUT/HPhone and LINE: A software switchable line out mode!
- The SOUND menu now contains:
- S-OFF: flat, no EQ effects.
- V-SUR: Virtual Surround ("Virtual Headphone Technology Acoustic Engine") uses DSP to provide STUDIO, LIVE, CLUB, and ARENA effects.
- S-EQ: Equalizer, with seven steps of adjustment (-10dB to +10dB) in six frequency bands, with options for two custom settings plus HEAVY, POPS, JAZZ and UNIQUE presets.
- Katakana editing option when titling disc/song titles.
It should be noted: Due to the lack of EEPROM, the selected sound settings are not stored, so after a power down the unit will reset and then play with S-EQ turned off. Custom modes are also not saved. The Personal Disc Memory function is also pretty much useless. Everything else works, although setting the DPC or Sound EQs is limited somewhat by the small screen (if you have a later LCD remote, such as the MC38EL, you'll get a full graphical display for the speed and sound settings - hold down 'Display' to access menu options via LCD remotes).
Regarding the LINE hack, Sony has used a software switch for line out mode, and it shares the headphone jack. When a remote is plugged in you can't set LINE and the unit is stuck to HPhone, but when the remote isn't present LINE can be selected. This effectively boosts the volume somewhat and removes all EQ settings.
Test Mode
Enter Test Mode (Service Mode) on your unit. Remove any disc, make sure your unit is powered sufficiently, unplug any remotes and then switch the HOLD mode on. Now follow this procedure:
NOTE: You can "brick" your device in Test Mode - make sure you have a pre-recorded minidisc in the event you mess something up and need to re-calibrate the laser.
Hold down the GROUP button and then press this combination quite quickly:
» » « « » « » «
Then press PAUSE twice.
Now release the GROUP button.
Your display should now be flashing the unit's BIOS version and every single LCD element. The firmware version will most likely read 00 8 V1.600.
Modified Sound settings, Katakana editing, Line Out mode and Title display
- In Test Mode, Press » once, and 000 Manual should be displayed. You can press STOP any time to go back a level. Press » again and 010 Laser is displayed.
- Press VOL + five times until 060 F Code is displayed.
- Press » once more, and you get 061 and some rolling numbers. Ignore the rolling numbers. All that is important here is the last two digits. They should read 00. Press MENU to increase them by values of ten until 70 is shown, and then press VOL + twice to get them to 72. Now write this new setting to Register 061 by pressing PAUSE once.
- This hack has just enabled the new Sound settings, Katakana editing, the Line Out mode and the Title display.
- Remove all power sources to exit Test Mode, or press STOP multiple times to return to the start of test mode.
Program Play Mode, and Menu Enhancements
- In Test Mode, Press » once, and 000 Manual should be displayed.
- Press » again and 010 Laser is displayed.
- Press VOL + five times until 060 F Code is displayed.
- Press » twice more, and you get to Register 062. After the rolling numbers, the two digits here should read 20.
- To add the Program Play Mode, and the remainder of the Useful menu, change this value to 61.
Remember VOL + - change the value by one, and MENU and PLAY change it by ten.
It's hexadecimal, so it will go 1,2,3,4,5,6,7,8,9,A,B,C,D,E,F and not simply 1-10. - Once this reads 61, press PAUSE to write it
- Remove all power sources, and try out your new hacks.
Other Hacking Options
There are other numbers that can be set in Registers 061 and 062 to enable different things, or just some a selection of the hacks above.
If you want the Line Out mode, but not the 6-band EQ (a lot of people prefer the old SOUND1 and SOUND2 bass and treble settings as these get stored by the unit), set Register 061 to 40 and not 72. This will also remove the Title and Sound options in the Display menu, as well as the Katakana editing option. If you want the novelty of the sound hack, then the 'unique' setting is good for most types of music and gives a subtle boost to bass, midrange and treble.
If you just want Katakana, and nothing else, set Register 061 02. You can also set Register 061 to 80 to add a 'Power Save' option in the Power menu. This will blank the display after a few seconds of inactivity, but it's been known to cause other problems, such as the battery indicator showing more power than it really has.
As for Register 062, it can be set to 01 to just enable the Useful menu items, but this will disable the workings of the bookmark function. It can be set to 40 to add PGM but this will disable the Useful menu entries, so either leave this value at the default or set it to 61 and enjoy every feature.
Back to defaults
To reset your unit to factory defaults, Register 063 being set to 00 will cause Registers 061 and 062 to reset to their default values once the unit powers down. After this, just reset your hacks, or don't, but make sure you reset 063 back to 01. Or you can manually just re-write the old values. The default values are: 61=00, 62=20, 63=01, 64=00.